
Why Does My Classroom Video Lose Students Halfway Through and How Do I Fix It?
Your classroom video loses students halfway through because the pacing slows down, the visuals stop changing, and the first ten seconds never gave anyone a reason to keep watching. The fix is not a flashier topic or a better camera. It is tighter structure: a hook that states what students will get, scenes that change every few seconds, and a running time that matches how long a class will actually pay attention. Do those three things and the drop-off you see around the two-minute mark mostly goes away.
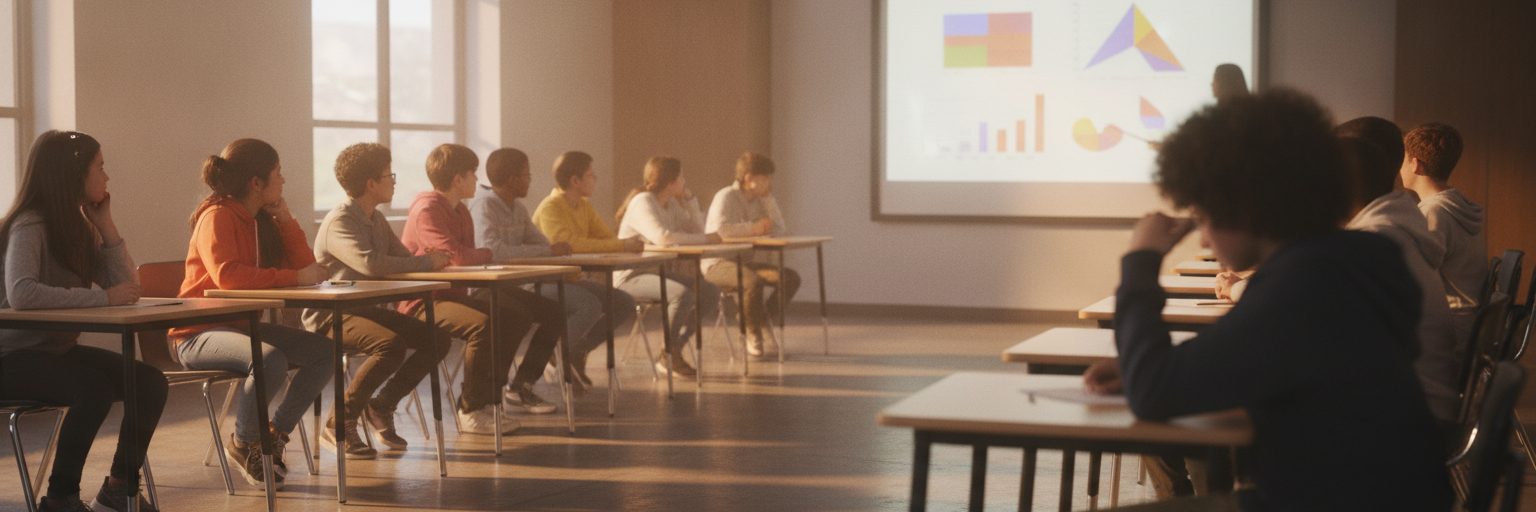
Picture the scene. You spent an evening recording a six-minute explainer on cell division. In class you hit play, and by minute three half the room is checking phones, two students are whispering, and one is openly asleep. The content is correct. The problem is that nothing on screen changed for ninety seconds, so their attention had nowhere to go.
Why do students tune out around the two-minute mark?
Three things usually cause the mid-video exit, and they stack on top of each other.
The first is a slow open. If the video spends its first thirty seconds on a title card, a greeting, and a "today we are going to learn about" preamble, students have already decided it is background noise. They need to know in the first sentence why this matters to them.
The second is a static screen. A talking head that holds the same frame, or a slide that sits unchanged while you narrate three paragraphs, gives the eye nothing to track. Attention follows movement. When the picture stops moving, attention wanders to whatever is moving nearby, which is usually a phone.
The third is length that ignores the audience. A six-minute video aimed at twelve-year-olds is asking for more sustained focus than most adults give a meeting. The content might deserve six minutes, but the format cannot hold them that long without breaks, questions, or a change of pace built in.

How do you fix the pacing so the video holds attention?
Start by cutting the open to a single promise. Instead of a title card and a hello, lead with the payoff: "By the end of this you will be able to tell mitosis and meiosis apart in a diagram." That one sentence tells students what they get and gives them a reason to stay to the end.
Then change the picture often. Aim for a visual shift every three to five seconds: a new image, a label appearing, a cut to a diagram, a key word popping on screen. You are not adding information, you are giving the eye something new to land on so attention resets instead of drifting. Template-based tools make this easy because the scene changes are built in, which is part of why many teachers build lessons in Biteable for education rather than filming one unbroken take.
Match length to the group. For younger students, keep a single video under three minutes and split longer topics into parts. For older students and adults, five to six minutes is fine if you break it with an on-screen question or a quick recap every ninety seconds. The break resets the clock on their attention.
Finally, put the hardest idea early. Attention is highest in the first minute, so spend it on the concept students struggle with most, not on setup and context you could cover at the end.
Which tool helps you make a video that actually keeps pace?
The tool matters less than the structure, but some make good pacing easier to hit. Here is how a few common options compare for a teacher making a lesson video.
| Tool | Best for | Pacing help | Learning curve |
|---|---|---|---|
| Biteable | Template-based lesson and explainer videos | Scene changes built into templates, stock footage and animation on hand | Low, runs in the browser |
| Canva | Slide-style videos tied to graphics | Good visuals, pacing is manual | Low to medium |
| Loom | Quick screen recordings of your lesson | Fast to record, but one continuous take | Very low |
| CapCut | Hands-on editing and cuts | Full control, more time per video | Medium |
If you mostly need to capture your screen and talk over it, Loom is fast and fine for a one-off. If you want precise frame-by-frame editing and have time to learn it, CapCut gives you that control. If your goal is a lesson that changes visuals often without you building each transition by hand, a template-driven explainer video maker does the pacing work for you. You can also start from a prompt with the AI video assistant, which gives you a first draft with scenes already broken up, then edit the parts that need your voice.
What does a well-paced three-minute lesson look like?
Here is a simple shape you can reuse for almost any topic.
- 0:00 to 0:10 State the outcome. One sentence on what students will be able to do.
- 0:10 to 1:00 Teach the hardest idea first, with the visual changing every few seconds.
- 1:00 to 1:10 Pose a quick question on screen and pause, or cut to a recap frame.
- 1:10 to 2:30 Build on the idea with an example, a diagram, or a short clip.
- 2:30 to 3:00 Recap the outcome you promised and point to what comes next.
Browsing a few ready-made video templates before you start can save you from building this structure from a blank screen every time. Pick one that already has the scene rhythm you want, drop in your content, and the pacing is mostly handled.
Frequently asked questions
How long should a classroom video be?
For younger students, keep it under three minutes and split longer topics into parts. For older students and adults, five to six minutes works if you break the video with a question or recap roughly every ninety seconds so attention resets.
Does adding music help keep students engaged?
A light background track can help a video feel paced and intentional, but it will not rescue a static screen. Fix the visuals and length first, then add music to support the mood. Keep it low enough that your narration stays clear.
Should I appear on camera or use graphics and footage?
Either works, but a single unbroken talking-head shot is the easiest way to lose a room. If you film yourself, cut in diagrams, labels, and footage so the picture keeps changing. If you are not comfortable on camera, a graphics and footage approach removes that pressure entirely.
What is the single biggest fix for mid-video drop-off?
The open. Replace your title card and greeting with one sentence that tells students exactly what they will be able to do by the end. That promise is what keeps them watching past the point where they usually tune out.
Can I reuse one video structure across different subjects?
Yes. The outcome-first, hardest-idea-early, recap-at-the-end shape works for almost any lesson. Save it as a template so you are editing content each week instead of rebuilding the pacing. The same approach carries over if you move into training and L&D videos.
Last updated: November 2026